Building an army of Intercessors or a towering Tyranid Hive Tyrant is one of the most fulfilling aspects of the Warhammer 40,000 hobby. Yet, nothing shatters the immersion of a beautifully painted model quite like a glaring seam line running down a space marine’s shoulder or across a vehicle’s hull.
Gap-filling is the “secret sauce” that elevates a standard tabletop build into a professional-looking miniature. But keep in mind, not all gaps are the same. Depending on the size of the gap and the material of your kit, you’ll need to decide between Plastic Glue (Polly Cement) and the hobbyist’s trusty companion, Green Stuff.
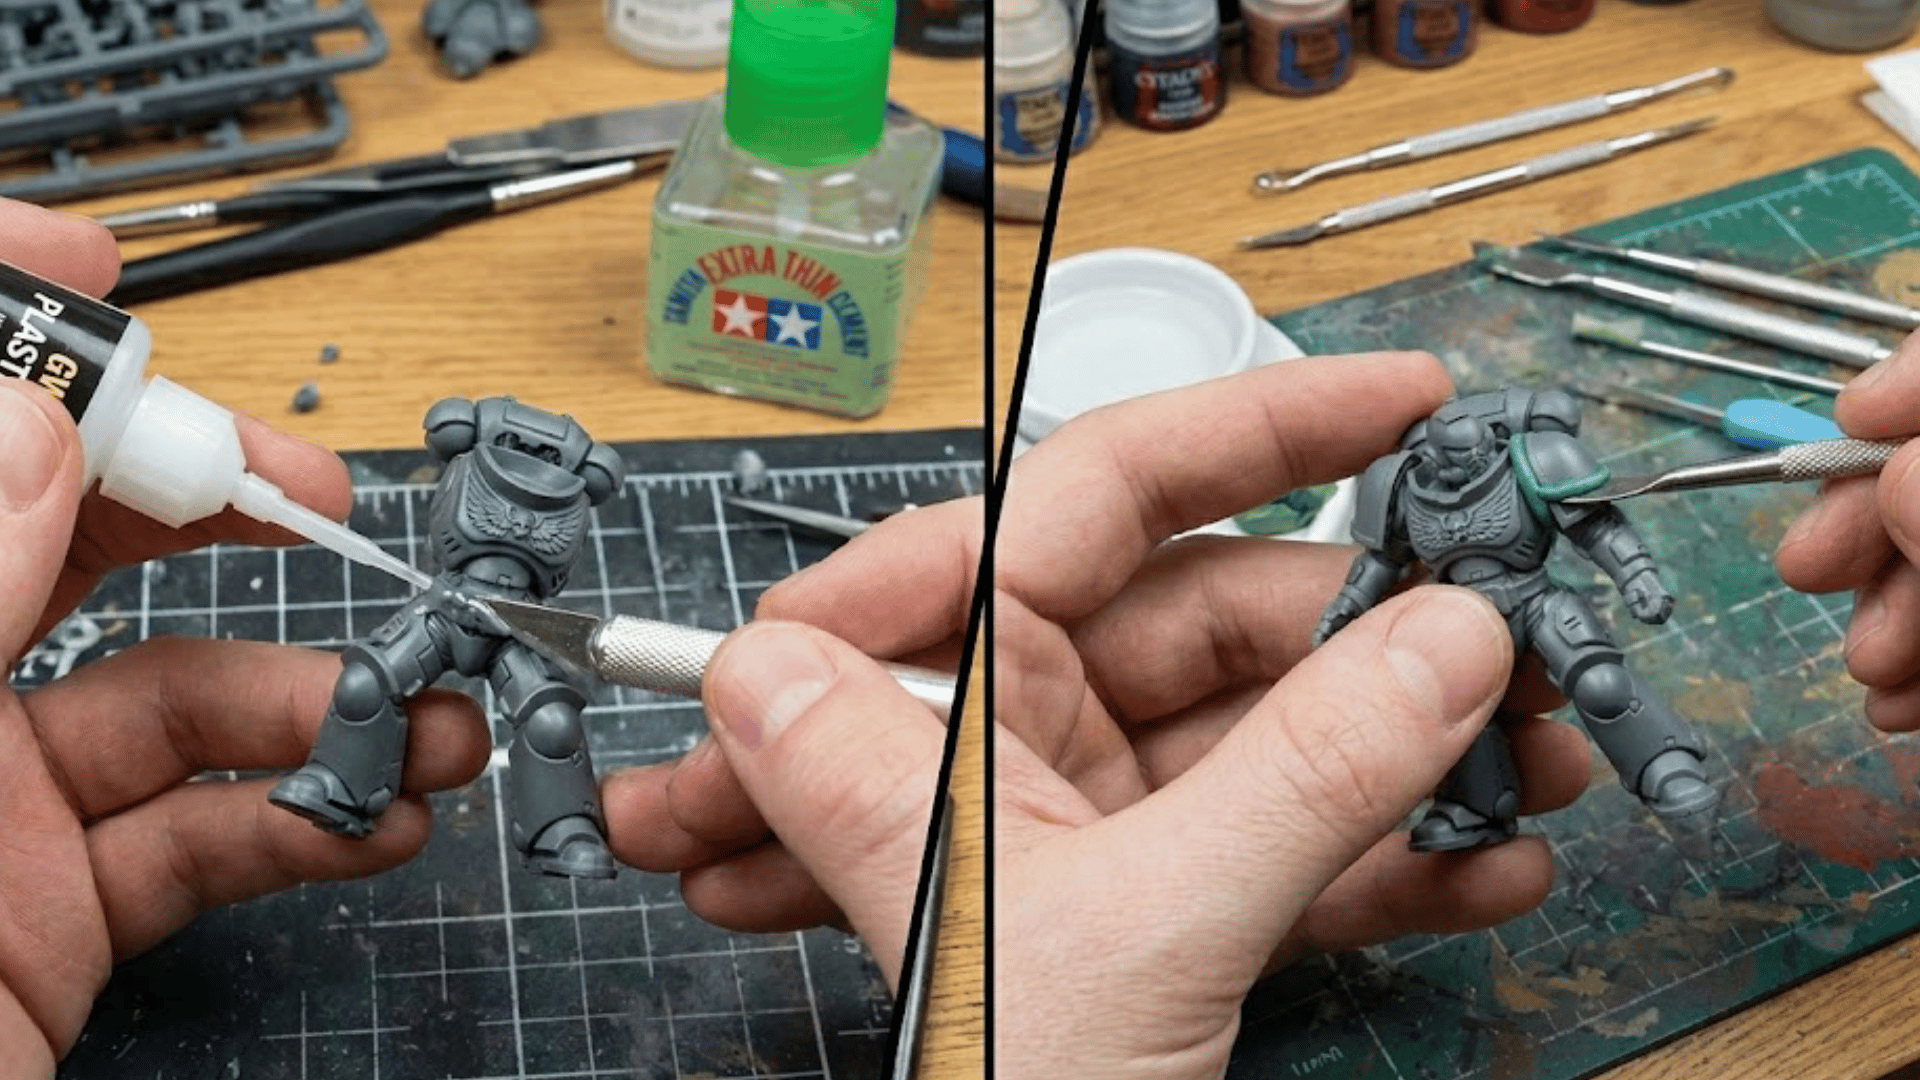
The Science of Plastic Glue: For Minor Offenses
Believe it or not, plastic glue isn’t really “glue” in the usual way; it’s more like a solvent. It works by melting the outer layer of high-impact polystyrene (the grey plastic that GW uses). When you press two melted surfaces together, they bond into one solid piece of plastic.
When to Use It for Gaps
Plastic glue is your go-to solution for hairline cracks and small seams. If you push two parts together and notice a tiny sliver of a gap—typically less than 0.5mm—plastic glue can fill that void without needing any extra materials.
The “Plastic Goo” Technique
For slightly larger (but still small) gaps, you can try the “plastic weld” method:
Start by applying a bit more than a dab of plastic glue to both edges.
Wait about 10–20 seconds for the plastic to soften into a gooey mix.
Then, press the pieces together firmly. You should see a little bead of melted plastic oozing out of the seam.
Let it dry completely. Once it’s hardened, you can scrape away the excess bead with a mold line remover or a hobby knife. Now, the gap is filled with the model’s own plastic!